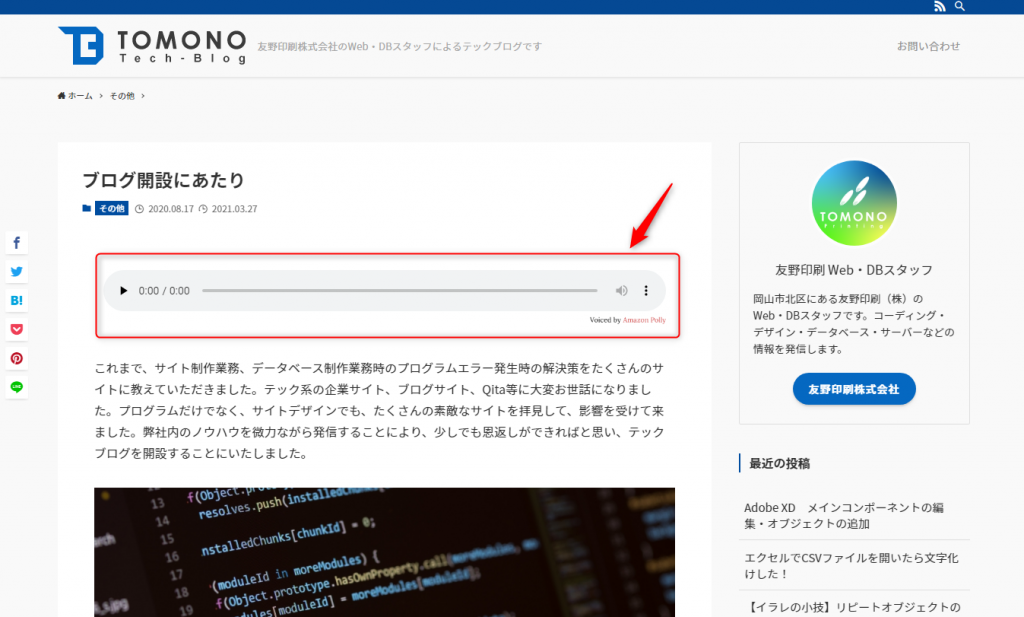
Amazon Polly という「文章をリアルな音声に変換するサービス」があります。そのサービスを使って、このブログ内の記事の読み上げが出来るように設定しました。現在は、下記の1ページのみ設定しています。
あわせて読みたい


ブログ開設にあたり
これまで、サイト制作業務、データベース制作業務時のプログラムエラー発生時の解決策をたくさんのサイトに教えていただきました。テック系の企業サイト、ブログサイト...
目次
AWSでの設定
AWS側で必要な作業については、公式サイトや、手順サイトの通りに作業をすれば完了できます。但し、AWSの管理画面のUIは、日々変更になっているので、サイトの説明画像とは若干違っています。
- WordPress サイトへの音声追加方法 – Polly | AWS
- AI(人工知能)アナウンサーをWordPressに導入するための具体的な手順|Amazon Polly | 今が最高のプレゼント Present is the best gift
AWSのIAMで設定したユーザーの下記の情報を控えておきます。
- Access key ID
- Secret access key
WordPressのプラグインのインストール
AWS for WordPress というプラグインをインストールします。
下記の環境でのインストールを確認しました。
- WordPress 5.4.4
- PHP 7.4.15
別のサーバで、PHPのバージョンを8.0にすると、プラグインの有効化の際、エラー表示にて、有効に出来ませんでした。
AWS for WordPressの設定
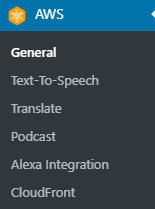
プラグインのインストールが完了すると、管理画面の左メニューに「AWS」の項目が表示されます。
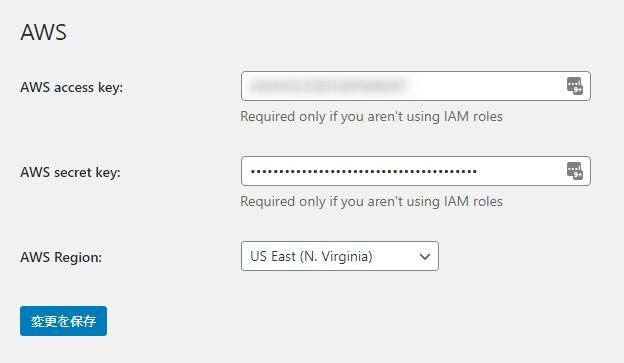
Generalの設定画面を表示して、先程、控えた Access key ID、Secret access key を設定します。
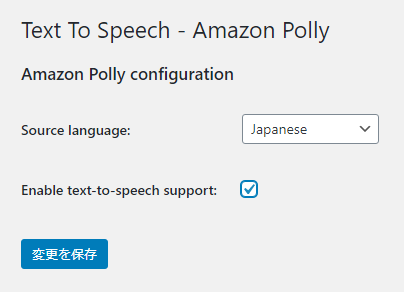
Text-To-Speechの設定画面を表示して、「Enable text-to-speech support」にチェックを入れれば設定は完了です。
記事ごとの設定
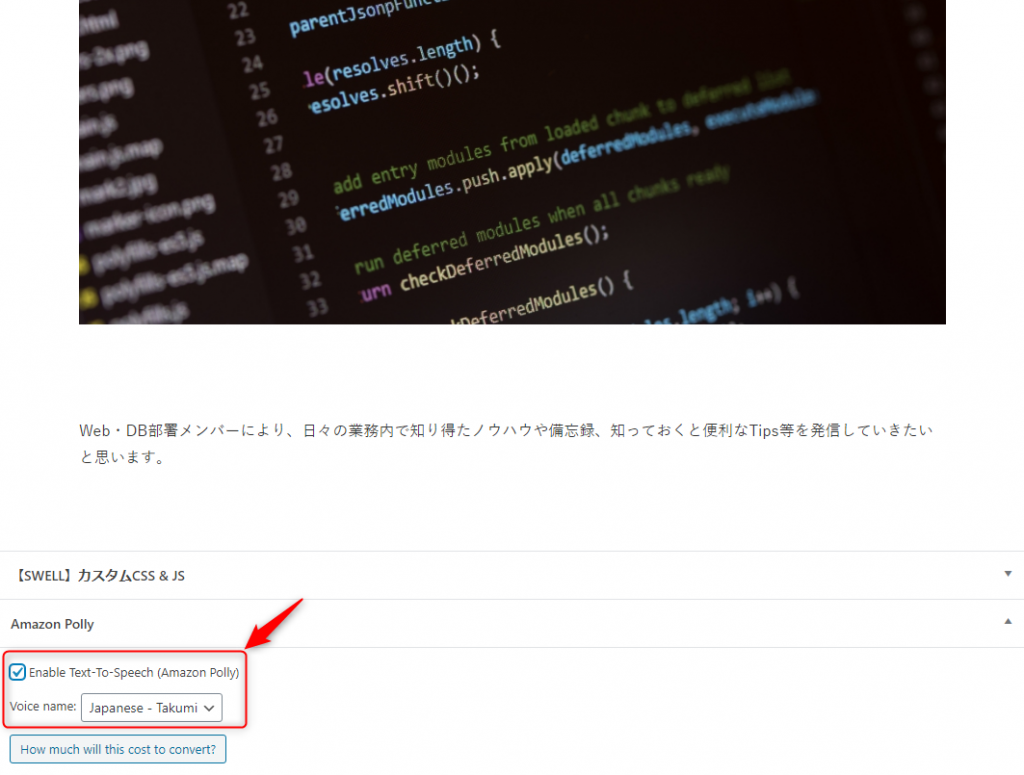
各記事の編集画面の下部に「Amazon Polly」の設定項目が表示されます。
- 「Enable Text-To-Speech(Amazon Polly)」にチェックを入れると、その記事が読み上げ対象になります。
- 「Voice name」で男性の声と女性の声を指定できます。