Googleマップのカスタマイズと言えば、Google Maps APIを使用する方法がありますが、もう少しライトな方法として、Googleマイマップを使用するのも便利です。
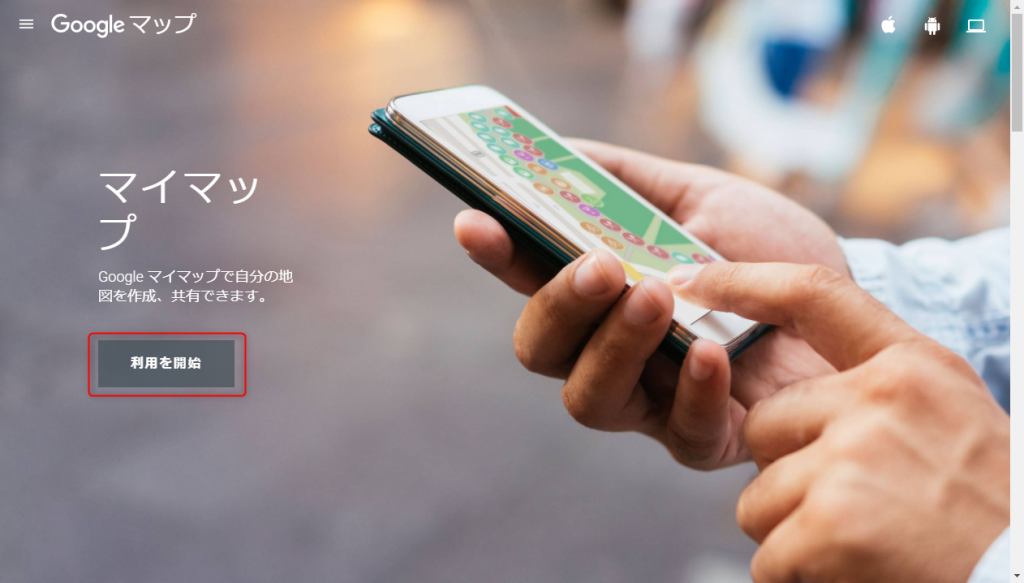
Googleマイマップにアクセスする
Googleマイマップにアクセスし、「利用を開始」ボタンをクリックします。
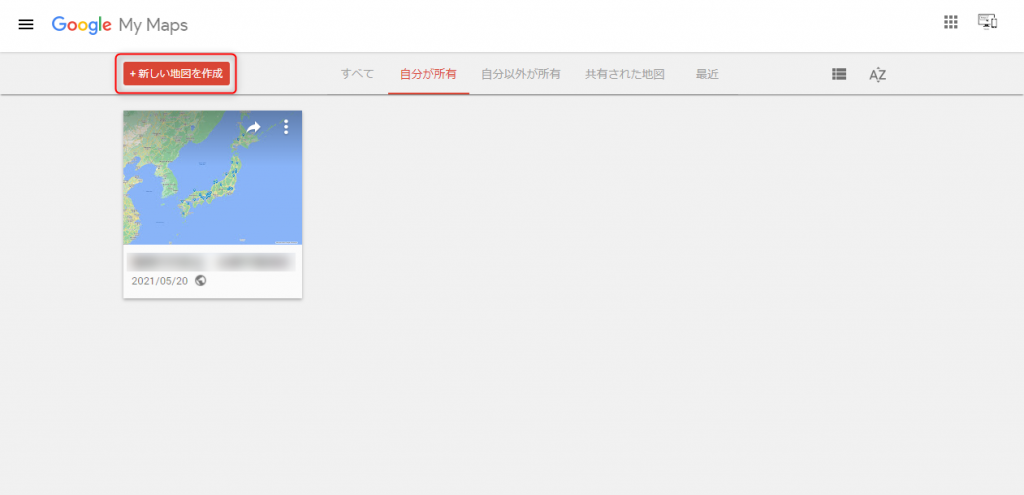
新しい地図を作成する
「新しい地図」ボタンをクリックします。
(過去に作ったマイマップがある場合は、画面に表示されています)
新しい地図の名前と説明を入力する
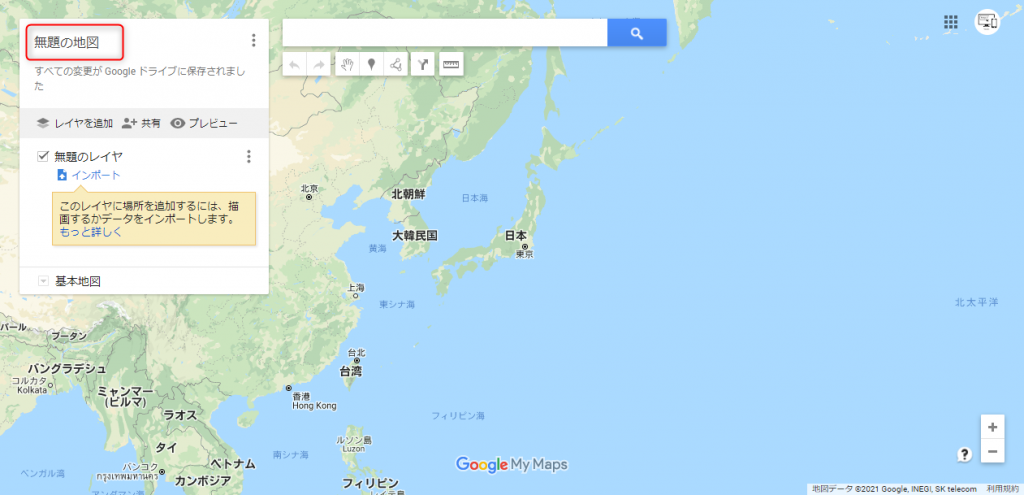
「無題の地図」となっているところダブルクリックすると、地図タイトルと説明を入力するダイアログボックスが現れます。
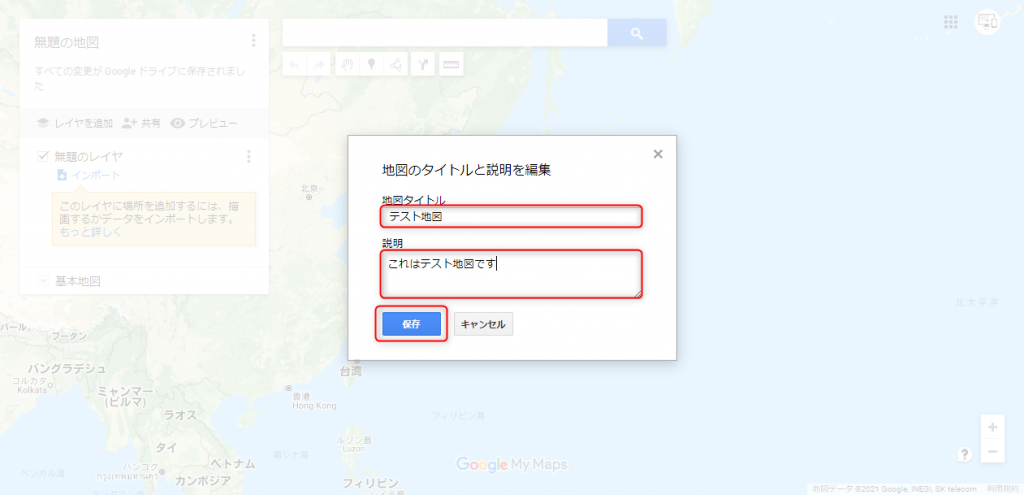
内容を入力し、「保存」ボタンをクリックします。
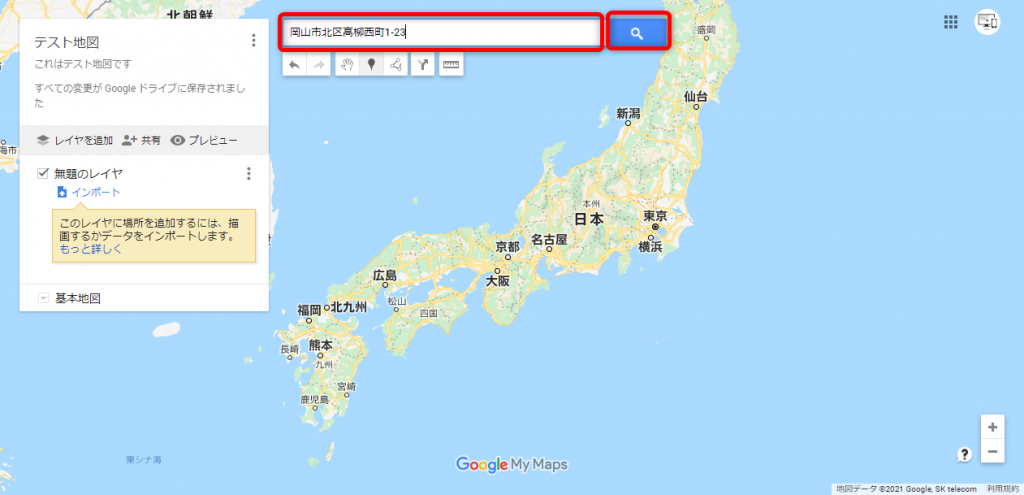
マイマップに登録したい場所を決める
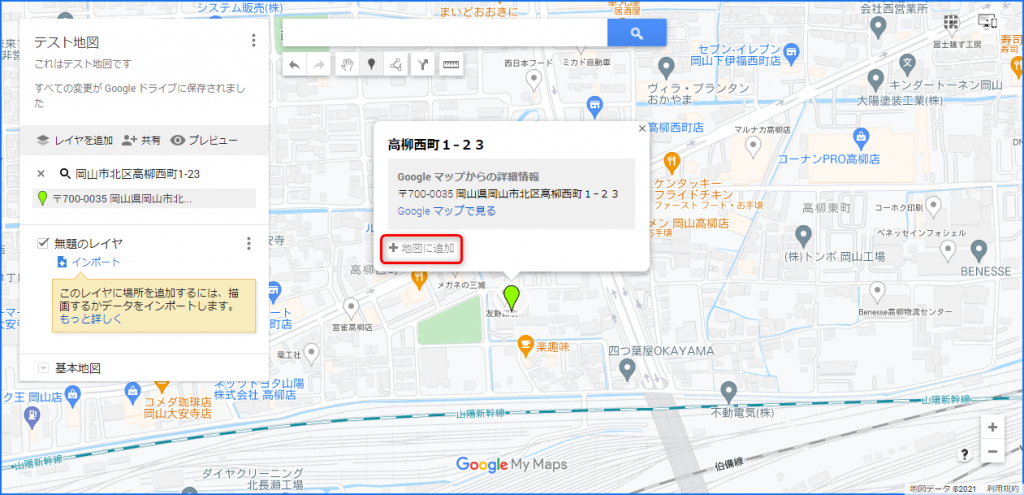
入力エリアに住所や場所の名前を入れて検索し、検索結果が正しければ「地図に追加」ボタンをクリックします。
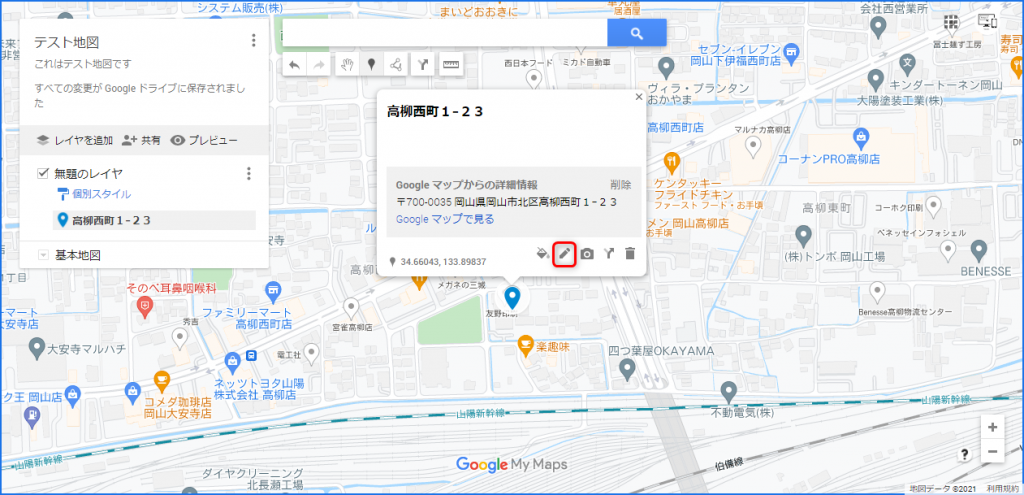
登録する場所についての詳細を編集する
場所の名前や説明文を編集する
鉛筆アイコン(編集ボタン)をクリックします。
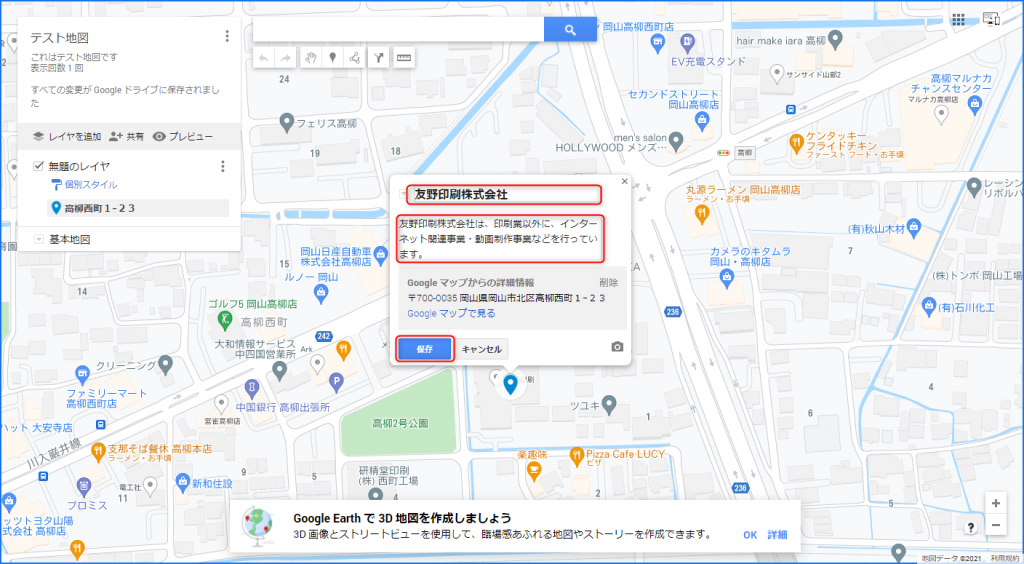
場所の名前や説明文を編集し、「保存」ボタンをクリックします。
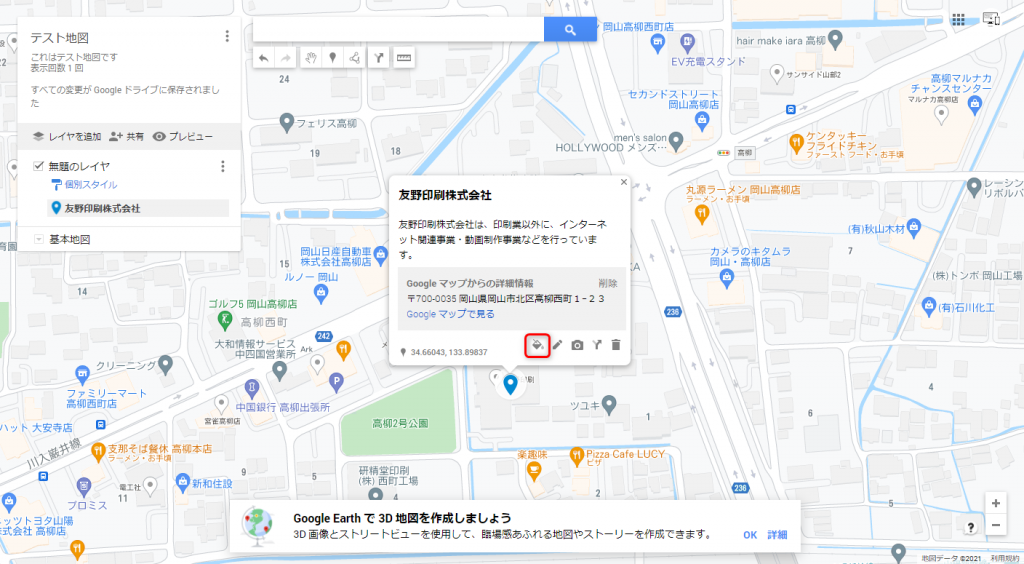
ピンを編集する
アイコンの色とアイコン画像を選ぶ
バケツアイコン(スタイルボタン)をクリックします。
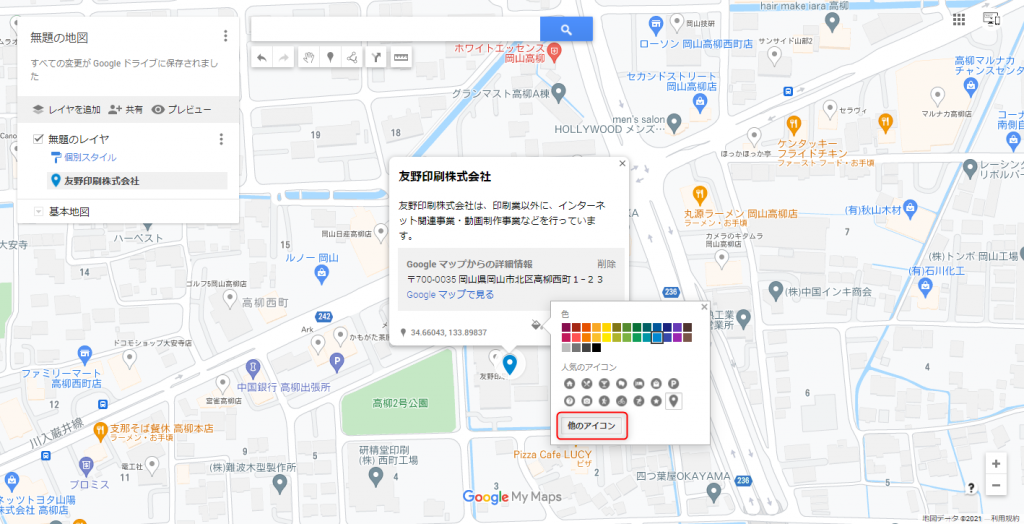
アイコンの色と、人気のアイコン画像からアイコンを選ぶことのできるエリアが表示されます。
その他のアイコン画像を選択したければ、「他のアイコン」ボタンをクリックしてください。
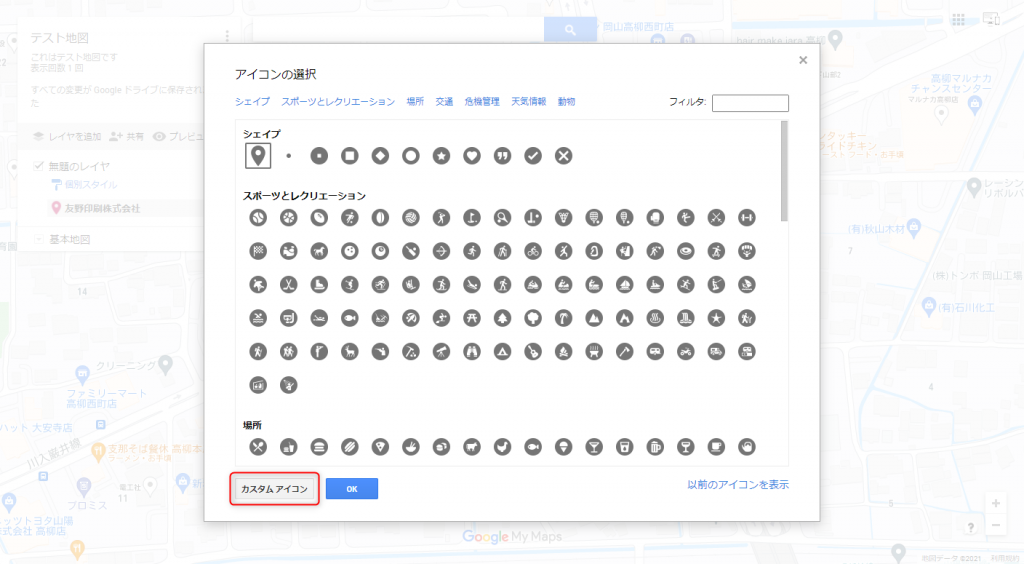
様々なジャンルのアイコンが登録されており、中から選ぶことができます。
さらにカスタムアイコンを設定したい場合は、「カスタムアイコン」ボタンをクリックしてください。
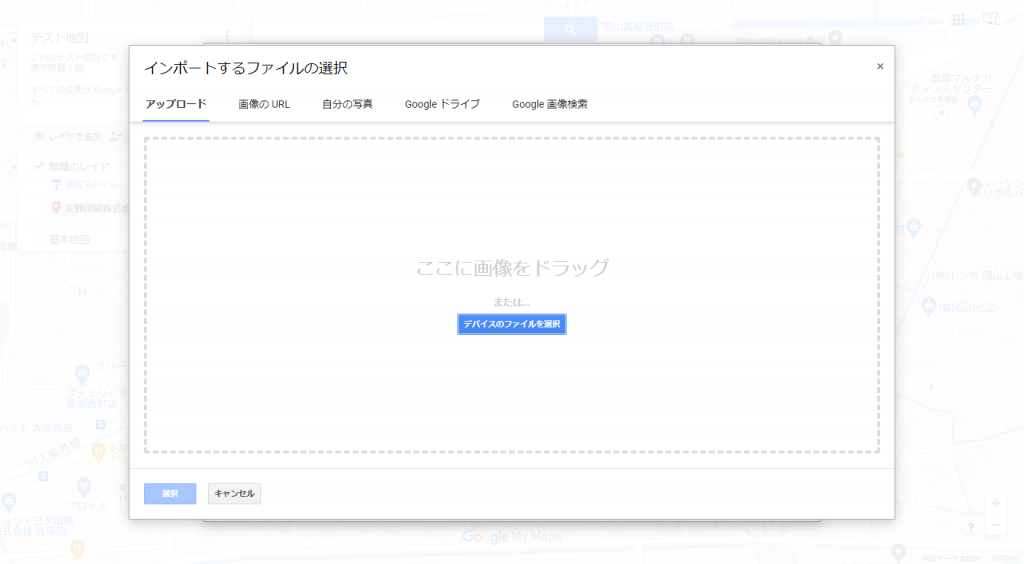
カスタムアイコンを設定する場合
画像をアップロードしたり、URLを指定したりすることができます。
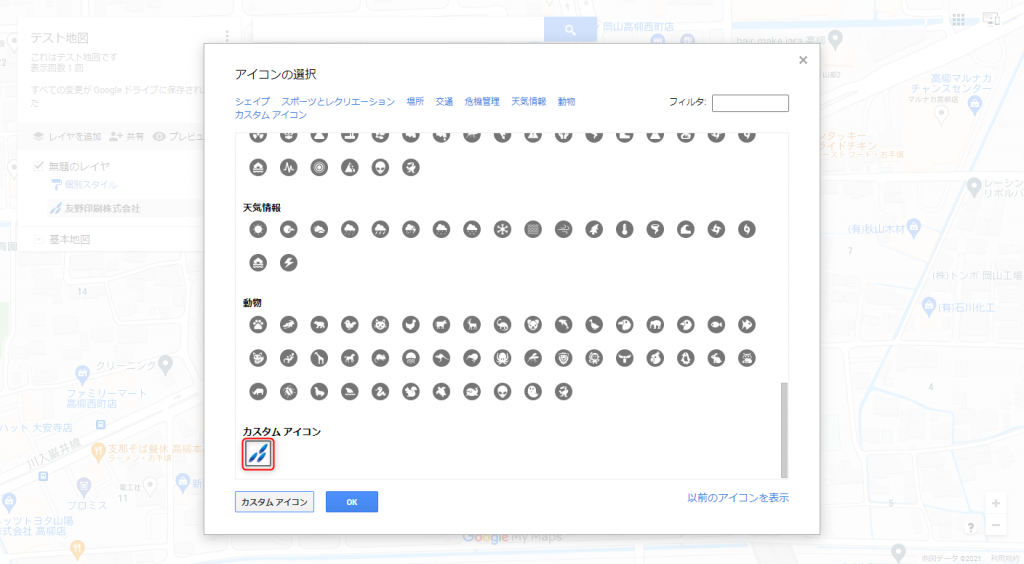
アップロードや設定が終われば、「カスタムアイコン」欄に、指定したアイコンが表示されますので、「OK」ボタンをクリックしてください。
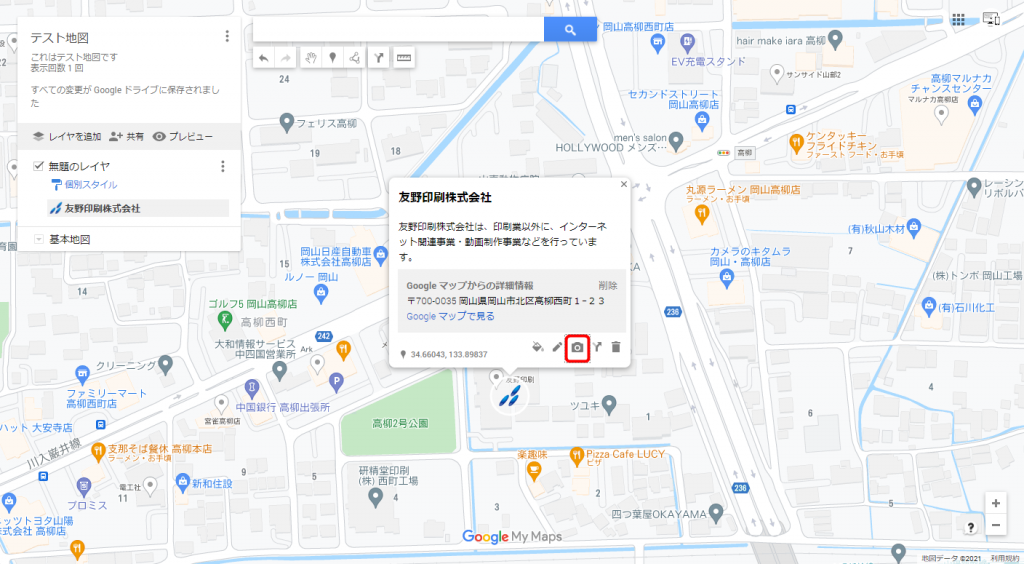
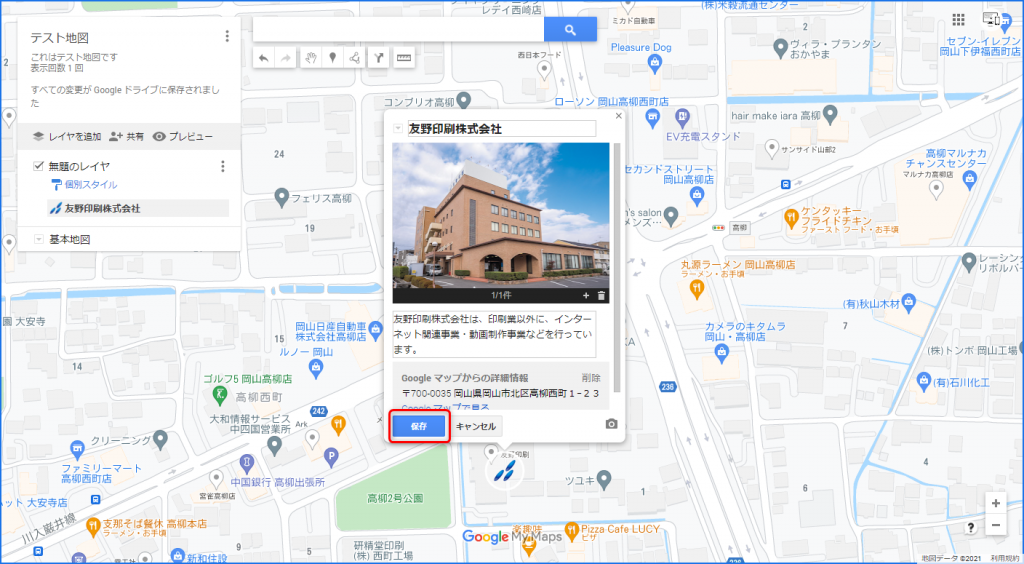
詳細情報に画像(または動画)を加える場合
カメラアイコン(画像または動画を追加)をクリックします。
画像や動画をアップロードしたり、URLを指定したりすることができます。
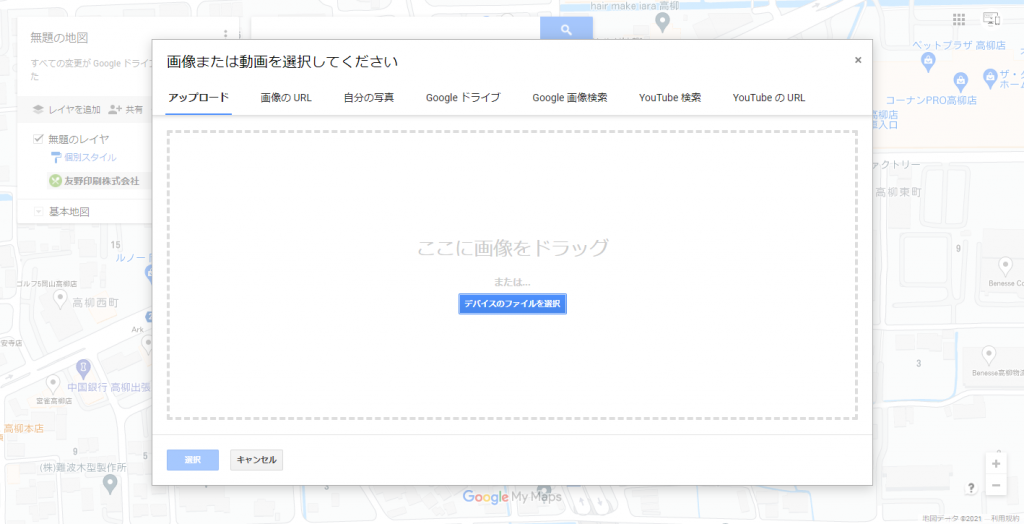
アップロードや設定が終われば、詳細情報バルーンに、指定した画像や動画が表示されますので、「保存」ボタンをクリックしてください。
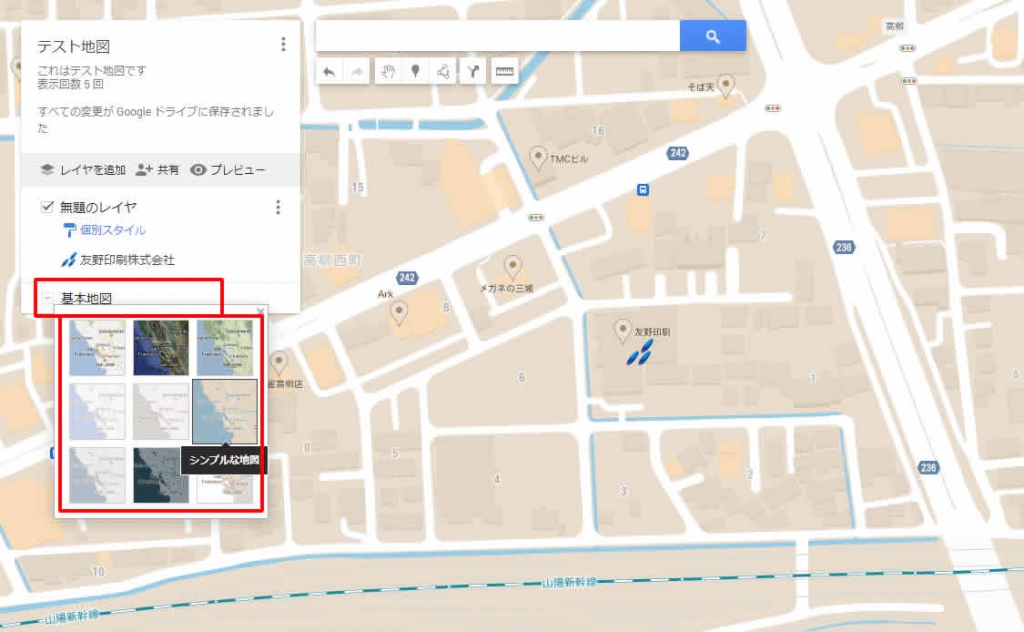
地図の全体的な色味や表示内容を変更したい場合
「基本地図」をクリックし、お好みのものを選んでください。
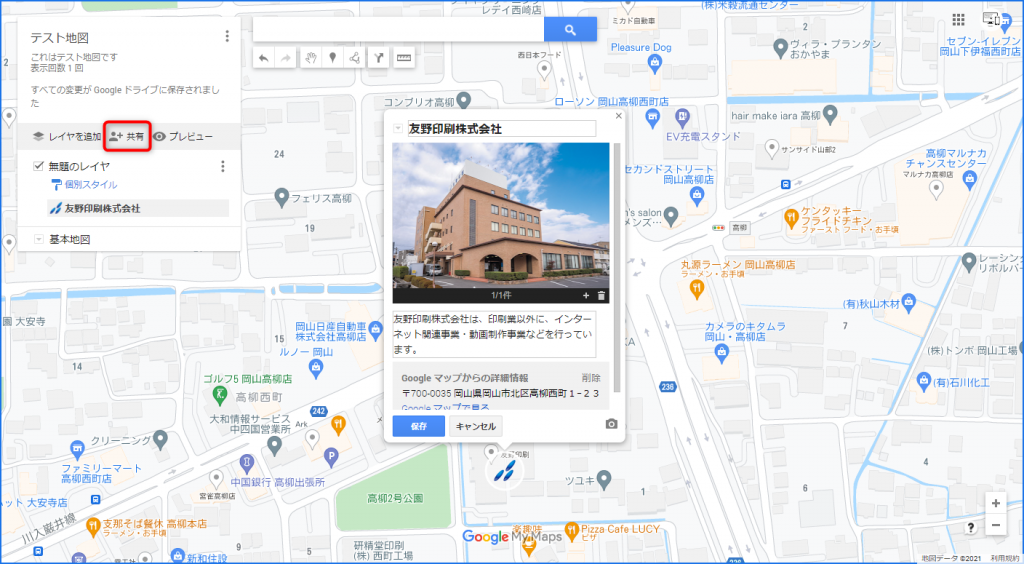
共有する
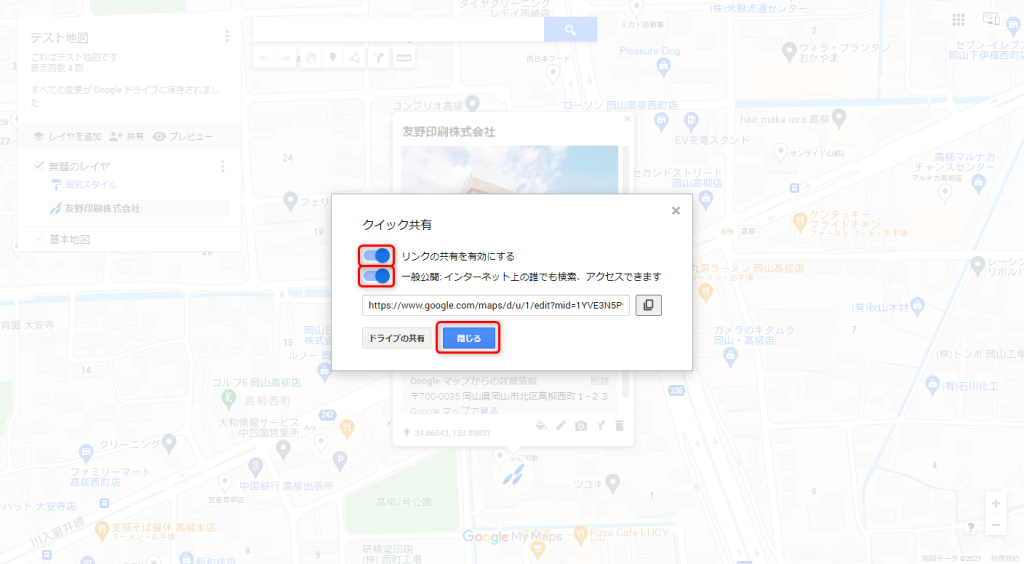
「共有」ボタンをクリックしてください。
「リンクの共有を有効にする」をオンにしてください。
一般公開する場合は、「一般公開」をオンにしてください。
(URLを知っている人だけに共有したい場合は、「一般公開」をオンにせず、URLをコピーして、共有したい人だけに共有してください。)
設定が終われば、「閉じる」ボタンをクリックします。
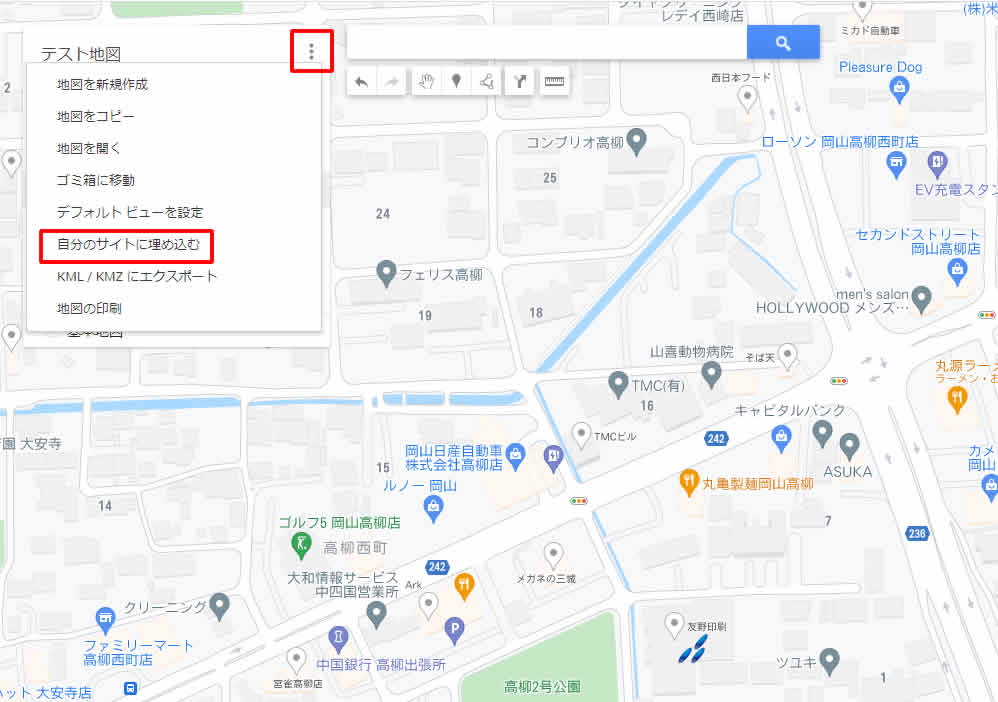
自分のサイトに埋め込む
地図名の右の三点メニューをクリックし、「自分のサイトに埋め込む」をクリックします。
埋め込み用のコードが表示されるので、コピーして自分のサイトのhtml内に貼り付けます。
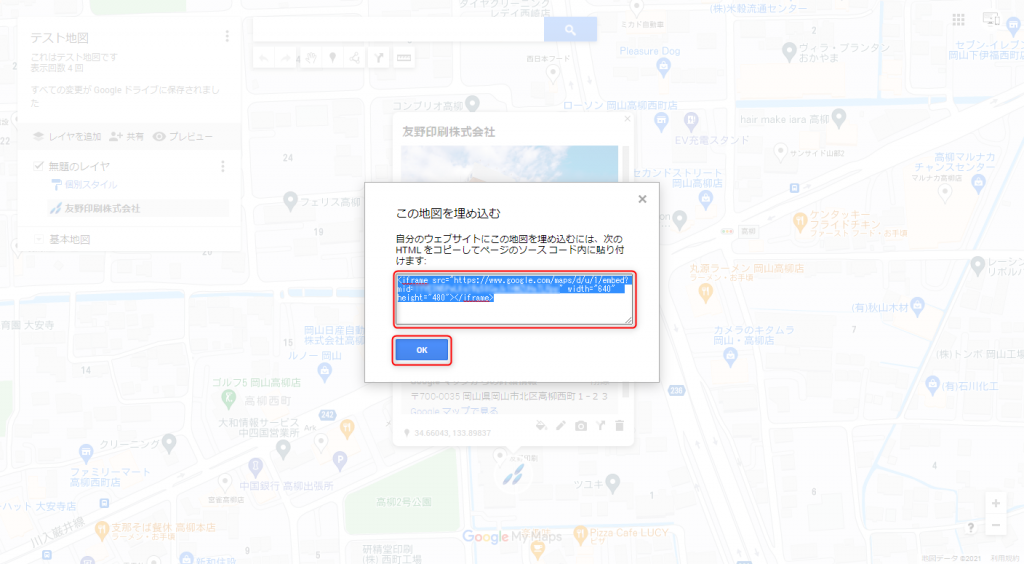
「OK」ボタンをクリックしてダイアログを閉じます。
まとめ
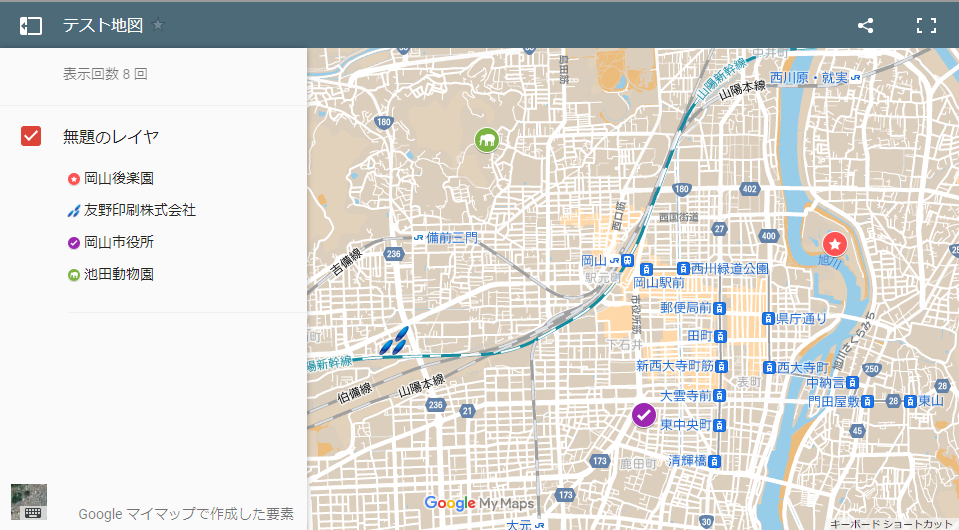
今回は使用しませんでしたが、「レイヤ」を分けて、カテゴリーごとなどでピンを分類することもできます。
自分だけのお気に入りレストランマップを作ったり、観光おすすめスポットを紹介したり、便利に使ってみてください。